-
![]()
Sofia Albert
Sofia has been involved with tech ever since she joined the EaseUS editor team in March 2011 and now she is a senior website editor. She is good at solving various issues, such as video downloading and recording.…Read full bio -
![]()
Melissa Lee
Melissa Lee is a sophisticated editor for EaseUS in tech blog writing. She is proficient in writing articles related to screen recording, voice changing, and PDF file editing. She also wrote blogs about data recovery, disk partitioning, data backup, etc.…Read full bio -
Jean has been working as a professional website editor for quite a long time. Her articles focus on topics of computer backup, data security tips, data recovery, and disk partitioning. Also, she writes many guides and tutorials on PC hardware & software troubleshooting. She keeps two lovely parrots and likes making vlogs of pets. With experience in video recording and video editing, she starts writing blogs on multimedia topics now.…Read full bio
-
![]()
Gorilla
Gorilla joined EaseUS in 2022. As a smartphone lover, she stays on top of Android unlocking skills and iOS troubleshooting tips. In addition, she also devotes herself to data recovery and transfer issues.…Read full bio -
![]()
Rel
Rel has always maintained a strong curiosity about the computer field and is committed to the research of the most efficient and practical computer problem solutions.…Read full bio -
![]()
Dawn Tang
Dawn Tang is a seasoned professional with a year-long record of crafting informative Backup & Recovery articles. Currently, she's channeling her expertise into the world of video editing software, embodying adaptability and a passion for mastering new digital domains.…Read full bio -
![]()
Sasha
Sasha is a girl who enjoys researching various electronic products and is dedicated to helping readers solve a wide range of technology-related issues. On EaseUS, she excels at providing readers with concise solutions in audio and video editing.…Read full bio
Content
Essential Equipment Needed to Record Vocals
Get Prepared for Vocal Recording
Detailed Steps to Record Vocals with Ableton
Tips for Getting the Best Vocal Performance
Bonus Part: How to Remove Background Noise in Your Recording
Conclusion
FAQs on How to Record Vocals in Ableton
Sasha
Updated On 03/27/2025
4213 Views |
6 min read
Recording vocals in Ableton Live is a dynamic process that opens the door to creative possibilities. Whether you want to sing a song or record a podcast, understanding how to capture vocals is essential. This article explores the tips and ways to record vocals in Ableton Live.
From configuring your settings to achieving professional-quality results, this guide will help you in how to record vocals in Ableton. Moreover, the article lists the essential tips and tricks to enhance audio production in Ableton. If you're looking for an advanced post-production vocal remover, we suggest a free online tool with multiple features.
Essential Equipment Needed to Record Vocals
While recording vocals, the right equipment can capture high-quality audio. Whether you're recording for personal or professional use, quality equipment can significantly impact the quality of your recordings. Here's the essential equipment for recording vocals:
- A good-quality microphone to record high-quality audio
- A sturdy microphone stand to keep it in place
- Pop filter to reduce plosive sounds
- Shock mount to isolate the microphone from vibrations and noise
- XLR Cables with XLR microphone
- Audio Interface to convert an analog signal into a digital format
- Good quality closed-back headphones
- Acoustic Treatment such as foam panels, bass traps, and diffusers
- Computer with recording software
- MIDI Controller
Get Prepared for Vocal Recording
Preparing for vocal recording in Ableton Live is essential to ensure a smooth and successful recording session. Here's a detailed checklist for beginners to get ready for vocal recording:
Select a Suitable Recording Space: Choose a quiet room with minimum background noise and good acoustics. Reducing room noise is essential for high-quality recordings.
Set Up Your Equipment: Place your microphone on a stand, ensuring it's stable. Attach a pop filter to the microphone to minimize plosive sounds. Use a shock mount to separate the microphone from vibrations and handling noise.
Connect Your Audio Interface: Connect your microphone to the audio interface using an XLR cable. Connect your audio to the computer using a USB or Firewire cable. Install any necessary audio interface drivers on your computer.
Test Recording: Record a short test take to ensure all settings are correct and that the recording quality meets your expectations.
Related article > > How to Use Ableton Live 11
Detailed Steps to Record Vocals with Ableton
Recording vocals in Ableton Live involves several steps. Here are the steps on how to use Ableton Live:
Step 1. Download and install Ableton Live on your computer.
Step 2. Tap "Create" and select "Audio Track."

Step 3. Tap "Options" and choose "Preferences."

Step 4. Select your input and output device.
Step 5. Adjust the sample rate up to 44.1 kHz or 48 kHz and bit depth to 16-bit-24-bit.
Step 6. Open the "Record Wrap Launch" tab and turn on "Start Playback with Record."

Step 7. Click the "Arm Session Recording" button. This enables the track for recording.

Step 8. In the "Audio To" section of the audio track, set it to "Master." This allows you to monitor your vocals through the master channel.

Step 9. Position the microphone appropriately.
Step 10. Adjust the input gain. Begin with a low gain setting and gradually increase it until the singer's voice is adequately captured without distortion.
Step 11. Fine-tune peak levels between -6 dB to -3 dB to avoid clipping. Tap "Record" to start recording.
Step 12. Play back the recording to review and edit as needed. You can make necessary adjustments after recording, such as cutting, copying, and pasting clips.
You can export the final audio as a WAV or MP3 format.
📺Watch this YouTube Video to see a visual guide on how to record vocals in Ableton.
- 0:10 Hardware
- 1:23 Setup
- 4:45 Recording
- 6:03 Exporting
Tips for Getting the Best Vocal Performance
Achieving the best vocal performance is essential for creating high-quality recordings. Here are some valuable tips for achieving an outstanding vocal performance and common mistakes that beginners should avoid:
What to do:
- Maintain a proper distance from the microphone to avoid distortion.
- Use a Pop Filter to eliminate plosive sounds.
- Adjust your input gain around -6 dB to -3 dB to avoid clipping.
- Select a microphone that suits your voice and the recording environment.
- Feeling lyrics is essential to convey emotions effectively.
- Create a comfortable headphone mix.
- Record in a quiet and acoustically treated space.
Common mistakes to avoid:
- Avoid excessive use of effects; it will degrade sound quality.
- Neglecting pitch and timing leads to an unpolished recording.
- Rushing the recording process can affect voice quality.
- Off-axis Mic placement can affect sound quality.
- Take short breaks to rest during longer recording sessions.
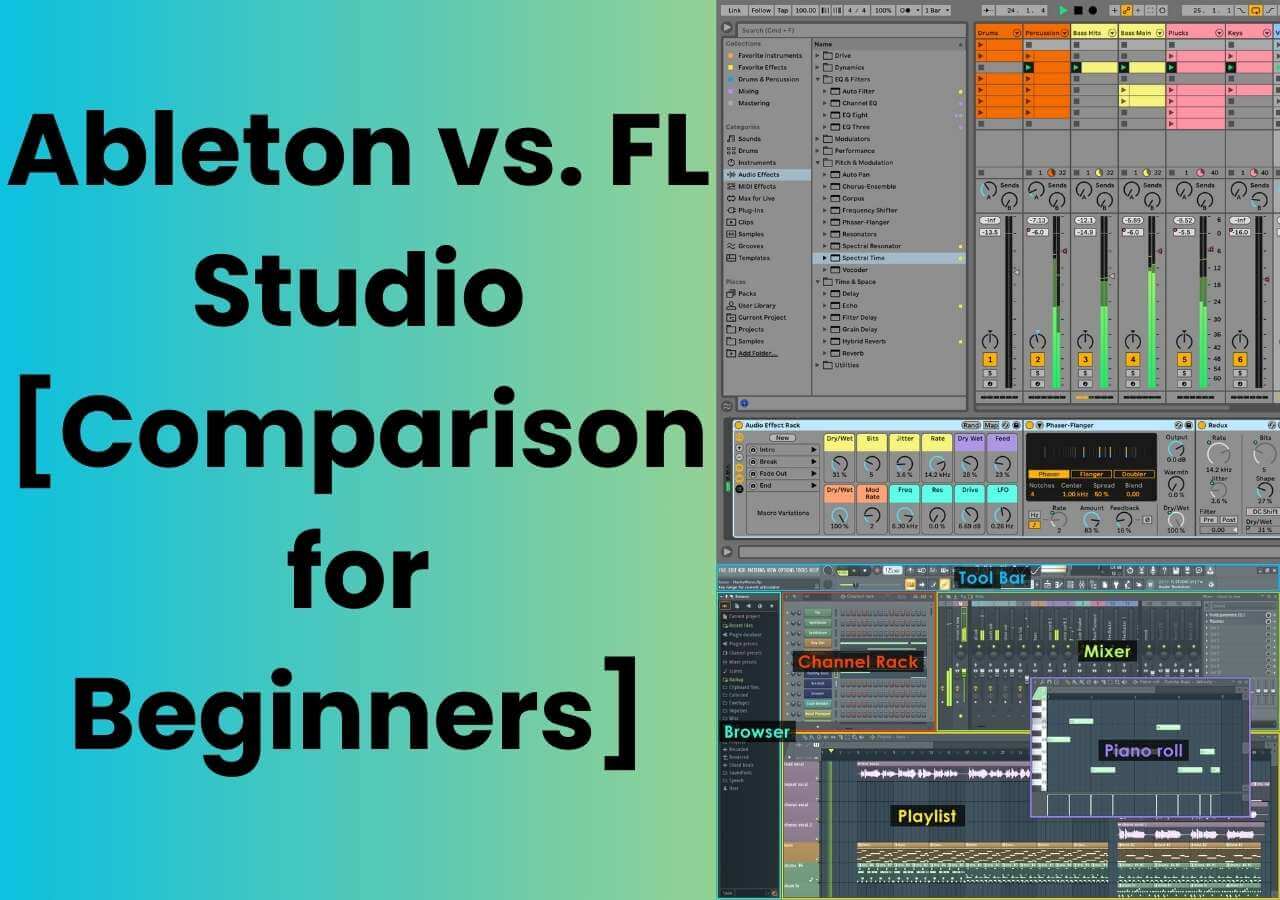
If you're unsure about choosing the best DAW, read our guide on Ableton vs. FL Studio.
Ableton vs. FL Studio [2023 Comparison for Beginners]
Being a music editor or producer, you might be curious to learn about Ableton vs FL Studio. Here, we have briefly compared these two most used DAWs in the field.
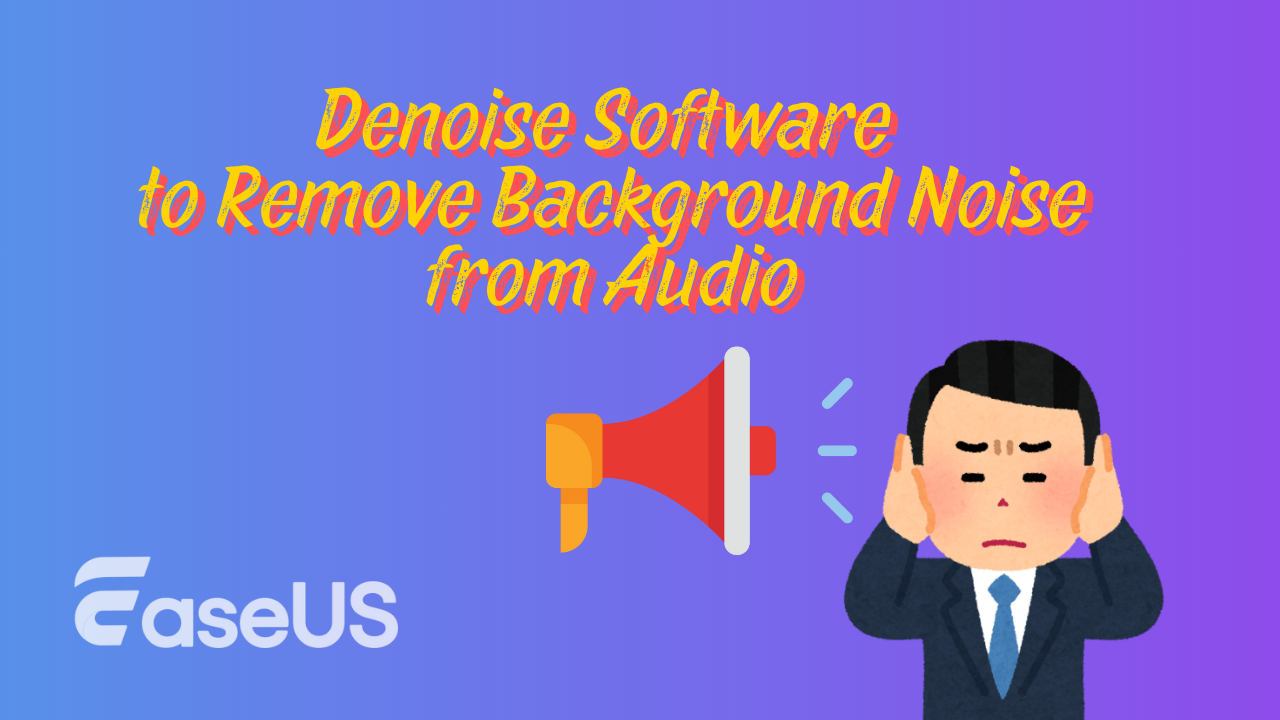
Bonus Part: How to Remove Background Noise in Your Recording
To achieve clean and professional vocal recordings, eliminating background noise is essential. If you're looking for an effective solution, EaseUS Online Vocal Remover is an effective tool. It provides an efficient way to remove background noise from audio recordings and enhance your vocal clarity.
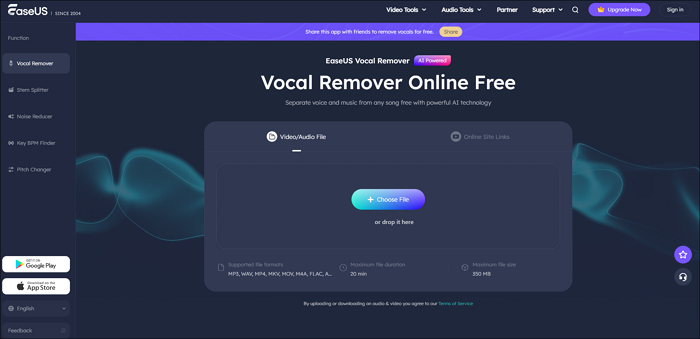
EaseUS Online Vocal Remover is a versatile online tool designed to enhance audio quality. Whether you're a podcaster or content creator, it helps you achieve professional audio. Its intuitive interface and real-time processing allow you to preview and adjust the results. With advanced AI-based noise reduction, you can remove breathing from video and preserve the clarity of your vocal tracks. With its vocal removal feature, it allows users to create karaoke tracks. EaseUS Online Vocal Remover enhances the quality of up to 360MB audio recordings and ensures the vocals are clear.
✨Some of its key features include:
- Simple and user-friendly interface
- Large file processing of up to 350MB in size
- No limit on the number of files to process
- Remove vocals without losing quality
- Remove vocals from a YouTube or SoundCloud link directly
Visit the EaseUS Online Vocal Remover website now to enhance your audio quality for free.
Powered by Advanced AI
Conclusion
Recording vocals in Ableton Live allows users to bring creative visions to life. Following the steps and tips mentioned in this guide, you can create high-quality vocal recordings. From setting up your equipment to enhancing performance, the article helps you with how to record vocals in Ableton. If you're looking to further enhance your vocal tracks, consider using the EaseUS Online Vocal Remover. It is a free yet effective tool to eliminate unwanted background noise and enhance the clarity of your recordings.
FAQs on How to Record Vocals in Ableton
While recording vocals in Ableton, you might have some more questions. This FAQ section answers some commonly asked questions.
1. Is Ableton good for recording vocals?
Ableton Live is an effective DAW for recording vocals. It offers features for tracking, editing, and processing vocals. With its intuitive user interface, it is suitable for both beginners and professionals. It offers flexible audio recording and editing features for various music genres and audio production settings.
2. What Ableton setting is good for vocals?
To set up Ableton Live for recording vocals, create a new audio track in the Session View or Arrangement View. Ensure your audio interface is selected as the input and output device in Ableton's preferences. Set the track's input to your microphone source and adjust input gain levels (-6dB to –3dB) to prevent clipping. It's also important to configure a headphone mix and set up effects such as compression (3:1), EQ (1,5kHz), and reverb as needed.
3. How do you record professional vocals?
To record professional vocals, follow these steps:
Step 1. Choose a quiet recording space, set up your equipment, and configure audio settings.
Step 2. Use a quality microphone and maintain proper microphone technique.
Step 3. Open Ableton Live. Click "Create" and select "Audio Track."
Step 4. Click "Options" and select "Preferences."
Step 5. In "Audio," select your input and output device.
Step 6. Click the "Arm Session Recording" button.
Step 7. Open "Audio To" and set it to "Master."
Step 8. Adjust the input gain from around -6 dB to -3 dB. Tap "Record" to start recording.
🌟If you find this article helpful, why not share it with more people?🌟