-
Jane is an experienced editor for EaseUS focused on tech blog writing. Familiar with all kinds of video editing and screen recording software on the market, she specializes in composing posts about recording and editing videos. All the topics she chooses are aimed at providing more instructive information to users.…Read full bio
-
![]()
Melissa Lee
Melissa Lee is a sophisticated editor for EaseUS in tech blog writing. She is proficient in writing articles related to screen recording, voice changing, and PDF file editing. She also wrote blogs about data recovery, disk partitioning, data backup, etc.…Read full bio -
Jean has been working as a professional website editor for quite a long time. Her articles focus on topics of computer backup, data security tips, data recovery, and disk partitioning. Also, she writes many guides and tutorials on PC hardware & software troubleshooting. She keeps two lovely parrots and likes making vlogs of pets. With experience in video recording and video editing, she starts writing blogs on multimedia topics now.…Read full bio
-
![]()
Gloria
Gloria joined EaseUS in 2022. As a smartphone lover, she stays on top of Android unlocking skills and iOS troubleshooting tips. In addition, she also devotes herself to data recovery and transfer issues.…Read full bio -
![]()
Jerry
"Hi readers, I hope you can read my articles with happiness and enjoy your multimedia world!"…Read full bio -
Larissa has rich experience in writing technical articles and is now a professional editor at EaseUS. She is good at writing articles about multimedia, data recovery, disk cloning, disk partitioning, data backup, and other related knowledge. Her detailed and ultimate guides help users find effective solutions to their problems. She is fond of traveling, reading, and riding in her spare time.…Read full bio
-
![]()
Rel
Rel has always maintained a strong curiosity about the computer field and is committed to the research of the most efficient and practical computer problem solutions.…Read full bio -
![]()
Dawn Tang
Dawn Tang is a seasoned professional with a year-long record of crafting informative Backup & Recovery articles. Currently, she's channeling her expertise into the world of video editing software, embodying adaptability and a passion for mastering new digital domains.…Read full bio -
![]()
Sasha
Sasha is a girl who enjoys researching various electronic products and is dedicated to helping readers solve a wide range of technology-related issues. On EaseUS, she excels at providing readers with concise solutions in audio and video editing.…Read full bio
Content
Dawn Tang
Updated On 08/16/2024
0 Views |
0 min read
In today's digital landscape, creating inclusive and accessible content is more important than ever. Adding captions to videos not only enhances the viewing experience for viewers with hearing impairments but also improves overall engagement and reach.
Whether you're a seasoned content creator or just starting your YouTube journey, learning how to add subtitles to MP4 is a valuable skill.
In this guide, we will explore various methods and tools to seamlessly incorporate captions into your YouTube videos, ensuring that your content is enjoyed by a diverse and global audience. Let's dive in and make your videos accessible to all!
| Methods | Effectiveness | Difficulty |
|---|---|---|
| EaseUS VideoKit | Generate subtitles automatically in one click. | Super easy |
| Sonix | Transcribe files to subtitles. | Relatively Easy |
| YouTube auto-sync | Add a transcript file and auto-synch the video timing. | Easy |
| Type manually on YouTube | Enter your captions while playing the video. | Tricky but flexible. |
| CapCut | Add subtitles to YouTube videos on iPhone/Android. | Easy |
Why Add Subtitles to Your YouTube Videos
Adding text to videos offers numerous benefits, making it a valuable practice for content creators. Here are some compelling reasons why you should consider adding subtitles to your YouTube videos:
😀Accessibility: Subtitles make your content more accessible to viewers with hearing impairments or those who may have difficulty understanding the audio. Subtitles ensure that everyone, regardless of their hearing abilities, can enjoy and engage with your videos.
👩🏼🤝👩🏽Reach a Global Audience: Subtitles transcend language barriers, allowing viewers from different countries and language backgrounds to understand your content. By providing subtitles in multiple languages, you can expand your audience and reach a broader international viewership.
👩💻Enhanced Engagement: Subtitles can improve viewer engagement and retention. Some viewers prefer reading captions along with the audio, which helps them better grasp the content and stay engaged throughout the video.
Add Captions to YouTube Videos in 5 Different Methods
Now that you understand the importance of adding subtitles to your YouTube videos, let's explore five different methods to accomplish this seamlessly.
1. EaseUS VideoKit🥇
EaseUS VideoKit is a video editing software that adds captions directly to your video timeline using an AI algorithm. This allows for precise control over caption placement and timing. Also, you don't have to generate SRT files before; you can export the subtitle file instead.
The video editor also allows users to control the text style, font size, subtitle position in the video, and more. You can also use the best vocal remover to remove background noise, separate accompaniment and vocals, compress, convert, and merge videos, etc.
Here's a simple step to add and edit subtitles in your YouTube videos using EaseUS VideoKit.
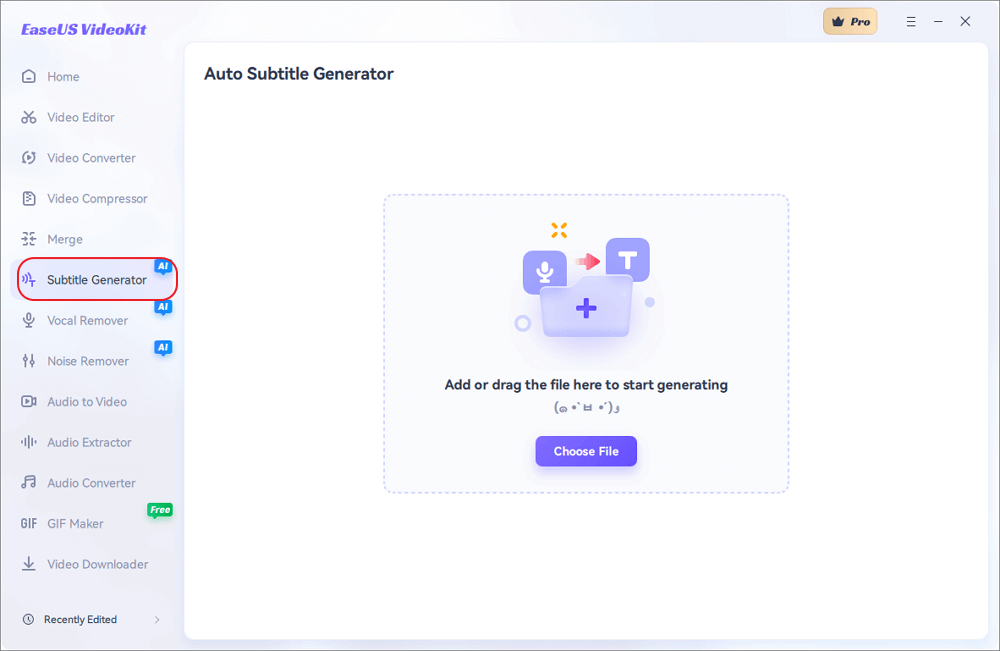
Step 1. Open EaseUS VideoKit and find the "Subtitle Generator" panel.
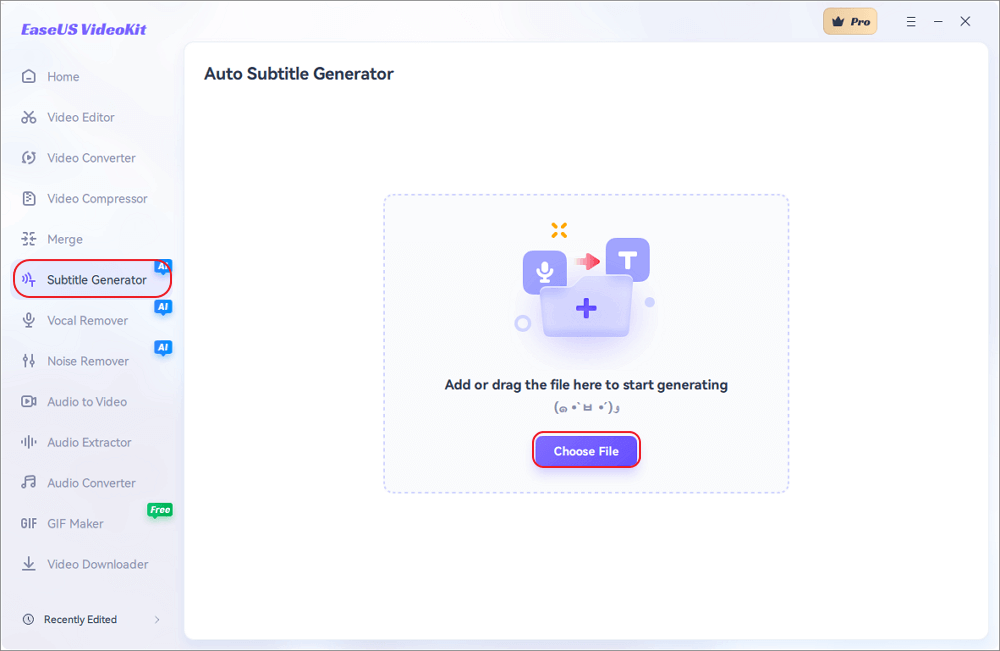
Step 2. Click "Choose File" or drag the YouTube video file to the interface.
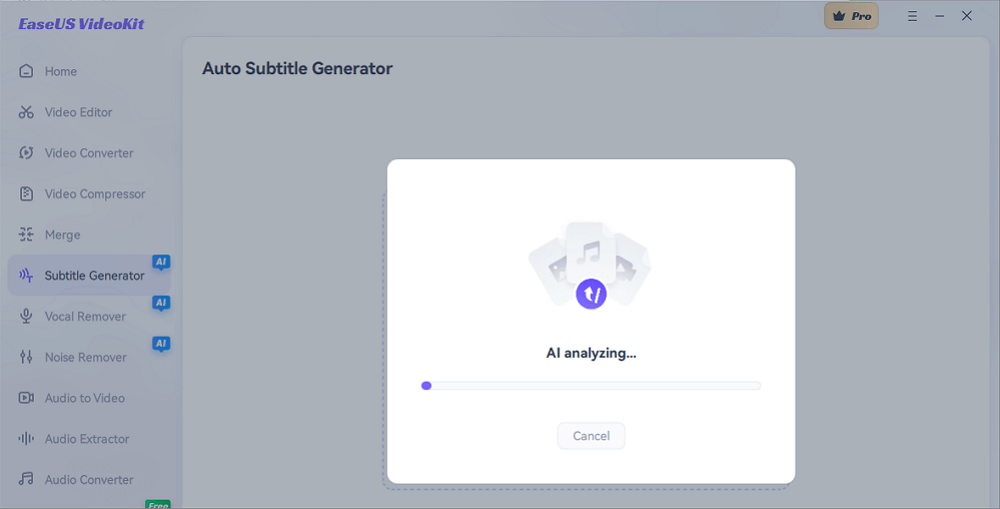
Step 3. Wait for the AI analyzing.
Step 4. Click the "Text" button to change the text, or customize font, background, and position under "Style" menu.
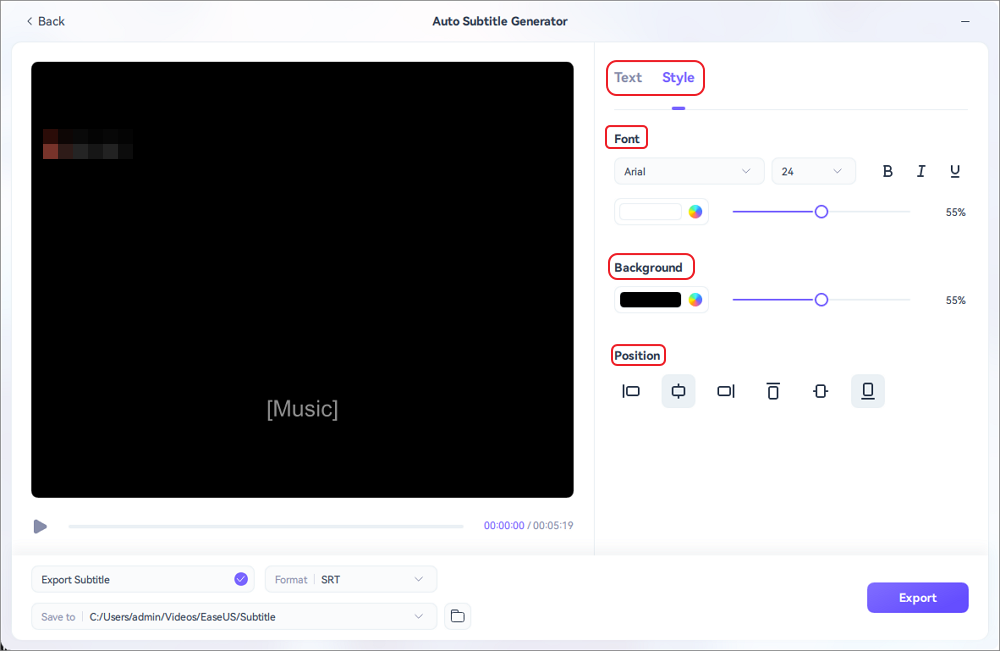
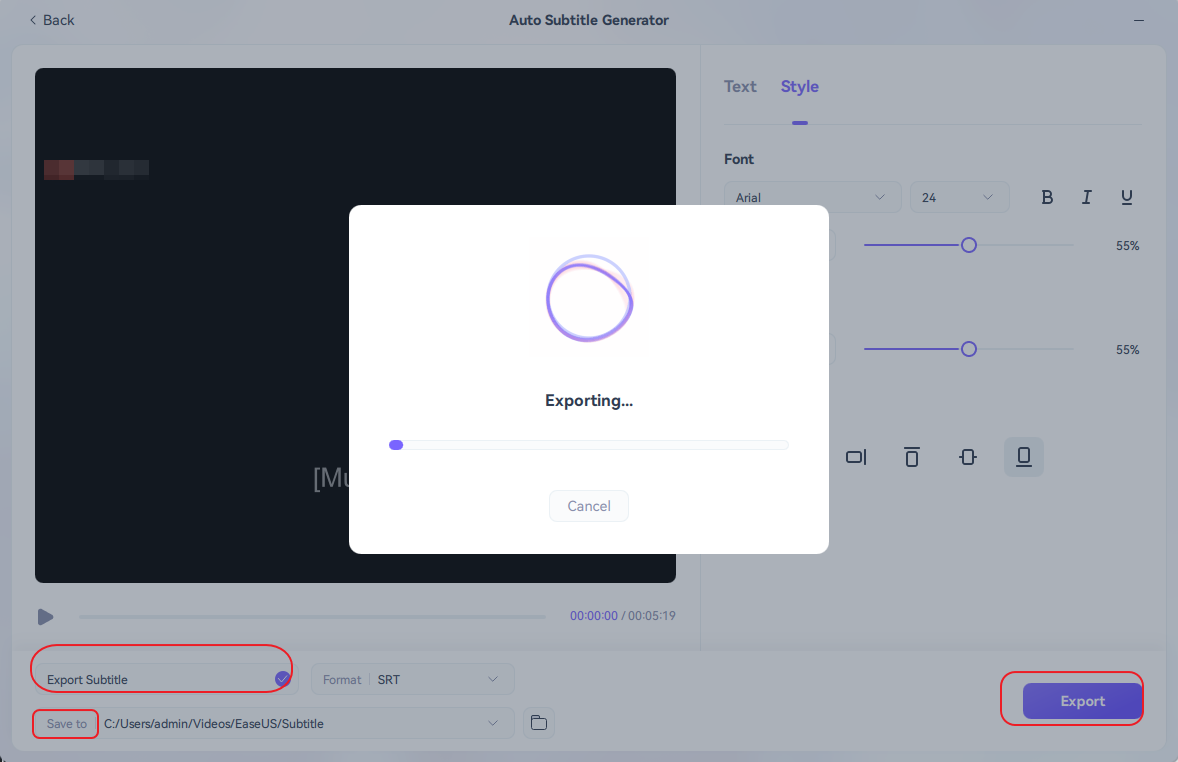
Step 5. Click "Export Subtitle" to select exported subtitle format, "Save to" to change location, and press "Export" to export the video with subtitles.
Spread the word to make content more inclusive together!
2. Sonix🥈
Online ASR (Automatic Speech Recognition) software Sonix automatically generates captions by transcribing the audio of your video. You can customize the font type, size, color, and position and adjust and fine-tune timestamps.
While not perfect (only 30m free trial), it can serve as a starting point for manual adjustments. Learn how to add and customize YouTube subtitles using Sonix.
Step 1. Visit the Sonix website and start a free trial.
Step 2. Create the account and click "START FREE TRIAL."
Step 3. Upload your downloaded YouTube video, select the language, and click the Transcribe button.
Step 4. Select "Subtitle" > "Split transcript" to split the transcript into subtitles automatically.
Step 5. Adjust your subtitles and timing; click "Customize subtitles" for more settings.
Step 6. Choose "Burn-in" from the "Subtitle" menu, and wait for the videos with subtitles to be processed. Then, you can download the video.

3. YouTube Auto-Sync🥉
Utilize YouTube's automatic captioning or manually add captions through YouTube Studio. While YouTube's built-in captioning tool provides a convenient way to add captions to videos, it does have some drawbacks, including inaccuracies in transcription, limited language support, customization options, and difficulties with accents and live streams.
Firstly, we can create subtitles in real time by entering them as the content plays.
Step 1. Go to the YouTube Studio.

Step 2. Use the "Subtitles" tab on the left to add titles in different languages, or edit the subtitles for uploaded videos using the right "Subtitle" option.

Step 3. Or select a video from the "Content" panel and open the video for "Subtitles."

Step 4. Click "Add Language" and select one, then click "ADD."

Step 5. Choose "Auto-sync" to enter the transcript manually with timing or copy and paste the subtitle file.

Step 6. Choose "Save Draft." Then, you can hit "Publish" to post the video.

Here's a video guide for your reference:
- 0:00 Introduction
- 0:34 Adding subtitles while uploading
- 0:44 Adding captions after a video has been uploaded
- 0:55 How to add subtitles through the editor
- 2:53 Timing your captions
4. Type Manually on YouTube🏅
You can upload subtitles or type your transcript manually for captions and subtitles. This offers precise control but can be tricky and time-consuming.
Step 1. Go to the studio and click the "Subtitles" panel on the left side.
Step 2. Select the video and click "Add Language".
Step 3. Click "ADD" and choose "Type Manually."
Step 4. Enter your captions and enable "Pause while playing."
Step 5. Use the keyboard shortcuts to speed up.
Step 6. Click "Publish".

5. CapCut🎖️
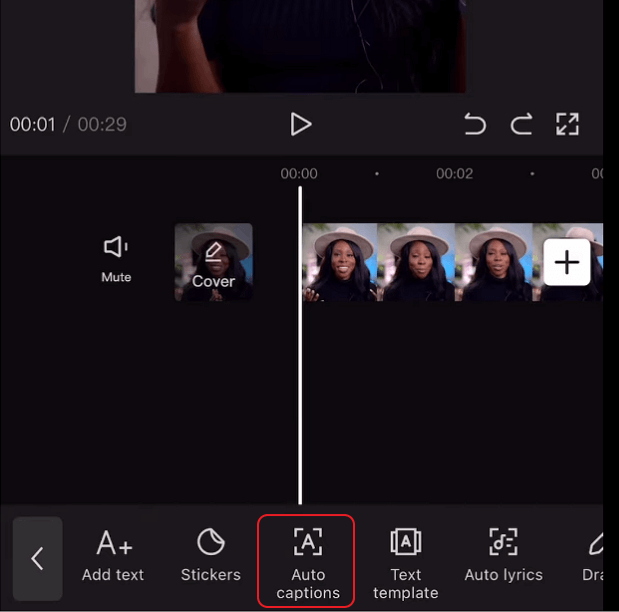
Once CapCut creates the captions, you can edit them manually. Simply select the language used in the video, and CapCut will generate text based on the audio content. This handy tool expedites the process while offering customization options for precise captions.
This app for iPhone and Android devices enables a one-click generation of video subtitles but may not always be 100% accurate and lacks more configurations. See the process below.
Step 1. Open CapCut on your mobile phone.
Step 2. Click "New project" and import the local YouTube video.
Step 3. Click "Text" at the bottom and choose "Auto captions".
Step 4. Select the sound source and language.
Step 5. Tap "Start", after that, you can edit the caption manually.
Wrapping up
In conclusion, adding captions to your YouTube videos through the five discussed methods enhances accessibility, engagement, and reach. Choose the most suitable approach for your content and create an inclusive viewing experience for a diverse audience.
For a simplified approach, consider utilizing EaseUS VideoKit, a user-friendly tool that streamlines the captioning process. Embrace these captioning techniques to create inclusive content that resonates with a global audience. Happy captioning!
Add Subtitles to YouTube Videos FAQs
1. How do I turn on captions on all YouTube videos?
To turn on captions on YouTube videos, you can open the video and enable the cc button at the bottom to turn them on.
2. How do you get captions on YouTube if there is no CC button?
To show the captions on YouTube, follow these steps:
- Visit YouTube and click on your profile picture.
- Select "Settings" from the dropdown menu.
- In the left-hand menu, click on "Playback and performance."
- Toggle the option "Always show captions" to enable or disable captions.
- Toggle the option "Include auto-generated captions (when available)" to enable or disable automatic captions.
3. How do you take captions from YouTube videos?
To extract captions from YouTube videos, you can:
- Open the video you want to access the transcript for.
- Click on the three-dot menu located below the video player.
- Choose "Open transcript" from the options provided.
- Click and drag to select the entire transcript text.
- Copy the text using Ctrl + C (Windows) or Command + C (Mac).
- Open a text editor, paste the copied text, and save the file.