


- Video Tools
- Video Downloader
- Video Editor
- Video Converter
- VideoKit
- RecExperts
How to Trim Audio Files on Windows
Melissa Lee updated on May 24, 2024 to Audio Editing Tips
We often need to trim audio files to remove the unwanted parts and keep only the clip we want to use. The demand for cutting audio files increases as more and more people are creating videos. We need to trim the recorded audio to ensure the audio sync to the video footage or make background music out of several audio files. In this post, we will talk about how to trim audio files on Windows. With the provided solutions, you can trim an audio file fast and adequately.
Part 1. How to Trim Audio File on Windows 10 - Desktop Audio Trimmers
There is a way to trim video with Windows Media Player, by installing a plug-in. We will talk about this in detail in another tutorial. It would be easier to install a Windows audio trimming tool that can directly trim the audio. Thus, the first solution we recommend is to trim audio files on Windows with desktop applications. Below is a common process to trim audio files with this audio editor with trimming feature - EaseUS MakeMyAudio.
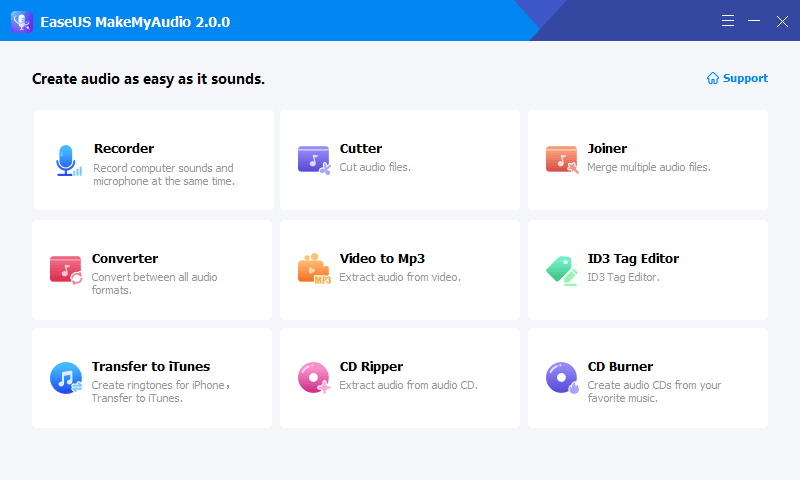
Step 1. Launch EaseUS MakeMyAudio on PC
Launch EaseUS MakeMyAudio on PC and click the "Cutter" module on the interface.
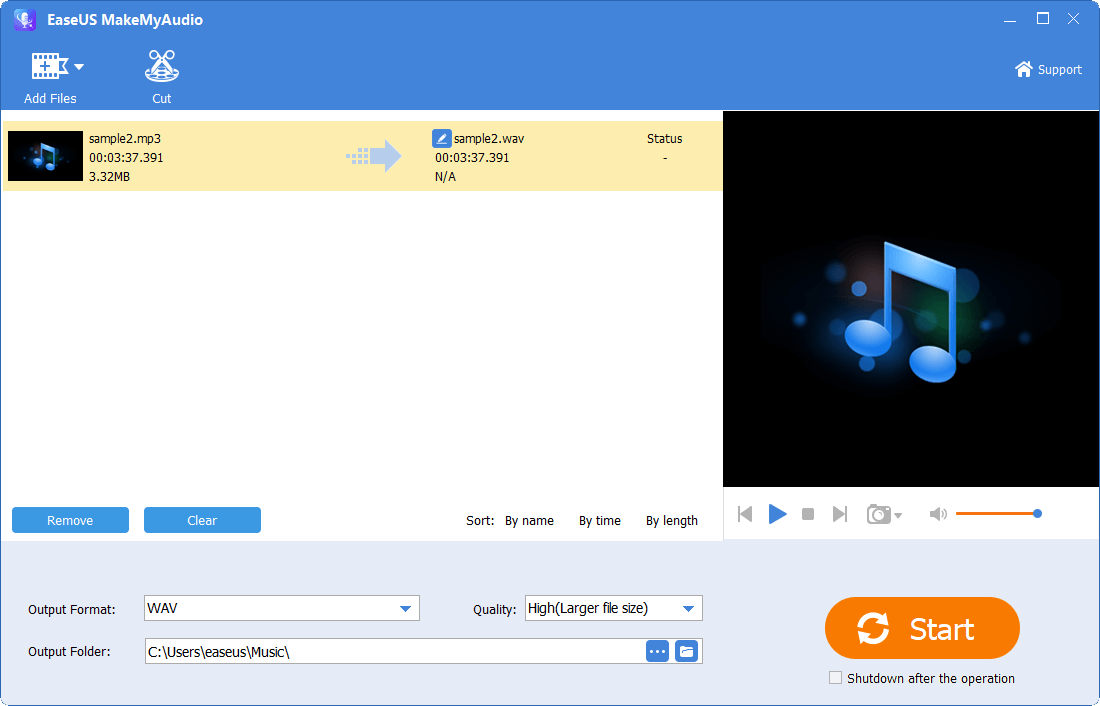
Step 2. Add the audio file you want to cut
Click the "Add Files" button to add an audio file from the computer to MakeMyAudio. You can also add multiple audio files at one time. Click "Cut" to open the waveform editor window.
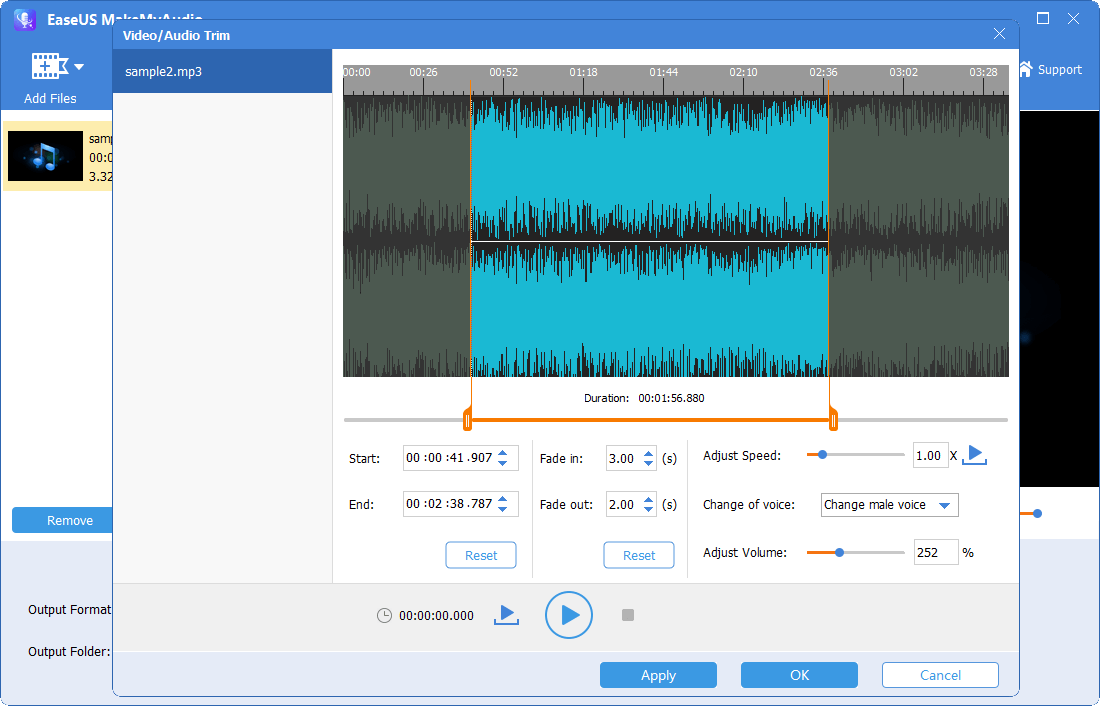
Step 3. Trim the audio file
Keep the desired portion of the audio by adjusting the start and end points. You can click the "Play" icon to preview the trimmed audio file. Adjust the selected timeline until you are satisfied.
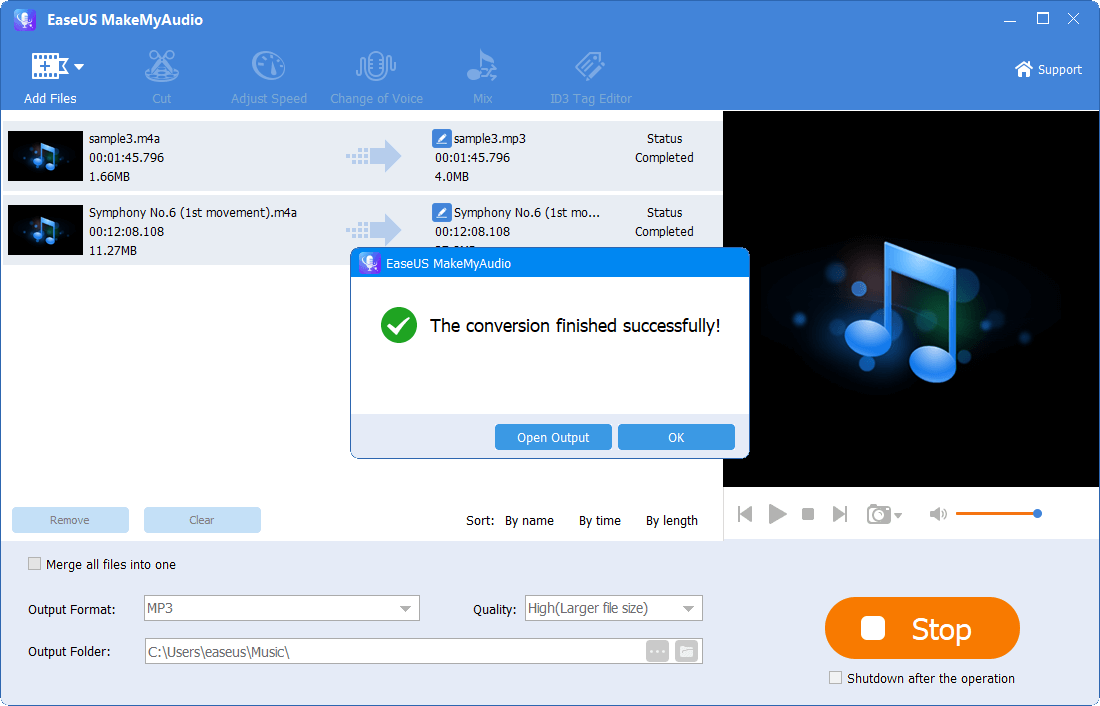
Step 4. Export the trimmed audio file to your PC
After you select the part you want, click "Apply" and "OK" to export the trimmed audio file to your computer. Then you can use the audio file or merge it with another audio file.
Part 2. How to Cut Audio Files on Windows 7/8/10/11- Online Audio Cutters
Besides trimming an audio file with the desktop application, you can also use a web application., which allows you to upload audio files from PC to its server for processing.
Step 1. Open an online audio trimmer or editor you found on Google search.
Step 2. Add the audio file from your PC to the online audio trimmer. It may take a while to upload the audio file to its server. Wait patiently.
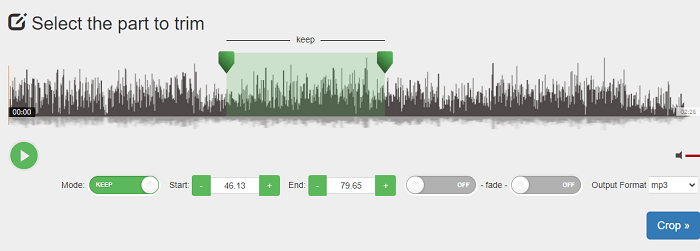
Step 3. After the audio file is loaded, move the cursors to choose the part you want to keep at the start and end. You can also manually enter the start time and end time in boxes below the track.
Step 4. Click "Crop" to cut the audio file. Then click the "Download" button to save the trimmed audio file on your computer. There will be a popup ad after you click the button. Close the ad and proceed.
The Bottom Line
Today, we have introduced you two easy ways to trim audio files on Windows (Windows 7, 8, 10, and 11 are all supported). We hope this will help you to get the work done. If you need to trim audio files occasionally, you can use an online audio trimer. While, if you have a stable and significant demand for audio trimming and are looking for a stable tool, we recommend installing an audio trimming application on your computer. A good tool helps you get work done well and fast with minimal effort.