


- Video Tools
- Video Downloader
- Video Editor
- Video Converter
- VideoKit
- RecExperts
How to Edit Audio on Windows/Mac/iPhone
Jane Zhou updated on May 24, 2024 to Audio Editing Tips
Editing a song or other type of audio file can be useful in many different scenarios. For example, you might want to create a ringtone out part of songs you don't want. Or you're learning a new language by following a video but can't follow the words because it plays too quickly.
Whatever your purpose of editing the audio file, you may need some audio editing tips to help. If you're looking for that, some helpful techniques introduced in this guide can help you edit sound files on your Windows or Mac with ease.
Part 1. How to Edit Audio Files on Windows and Mac with a Sound Editor
Lots of audio editors can help you edit audio files, most of them can handle tasks like:
- Record computer sounds and microphone at the same time
- Trim unwanted parts of an audio
- Adjust speed and volume of your voice or change voice effects
- Convert audio formats
- Convert videos to MP3
Not only that, some of these audio editing tools like EaseUS MakeMyAudio even allow you to edit ID3 tag, rip CD, and burner CD, and more. If you want to use EaseUS MakeMyAudio, you can download it on your computer and follow these steps to edit your audio file.
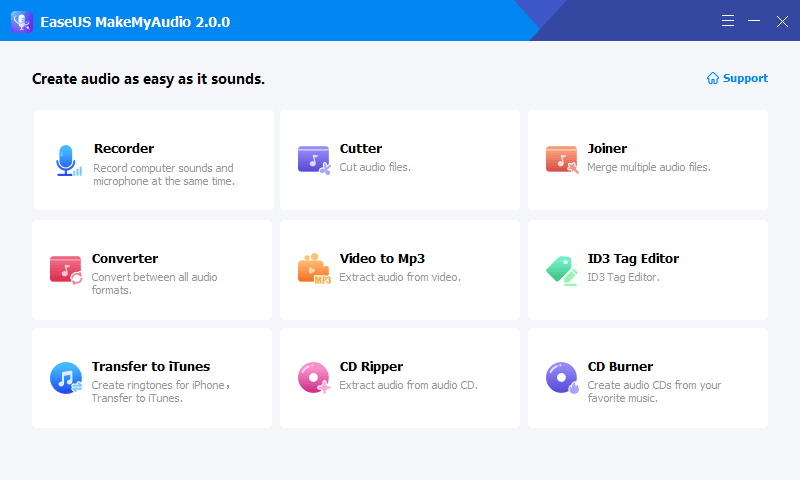
Step 1. Launch EaseUS MakeMyAudio on PC
Launch EaseUS MakeMyAudio on PC and click the "Cutter" module on the interface.
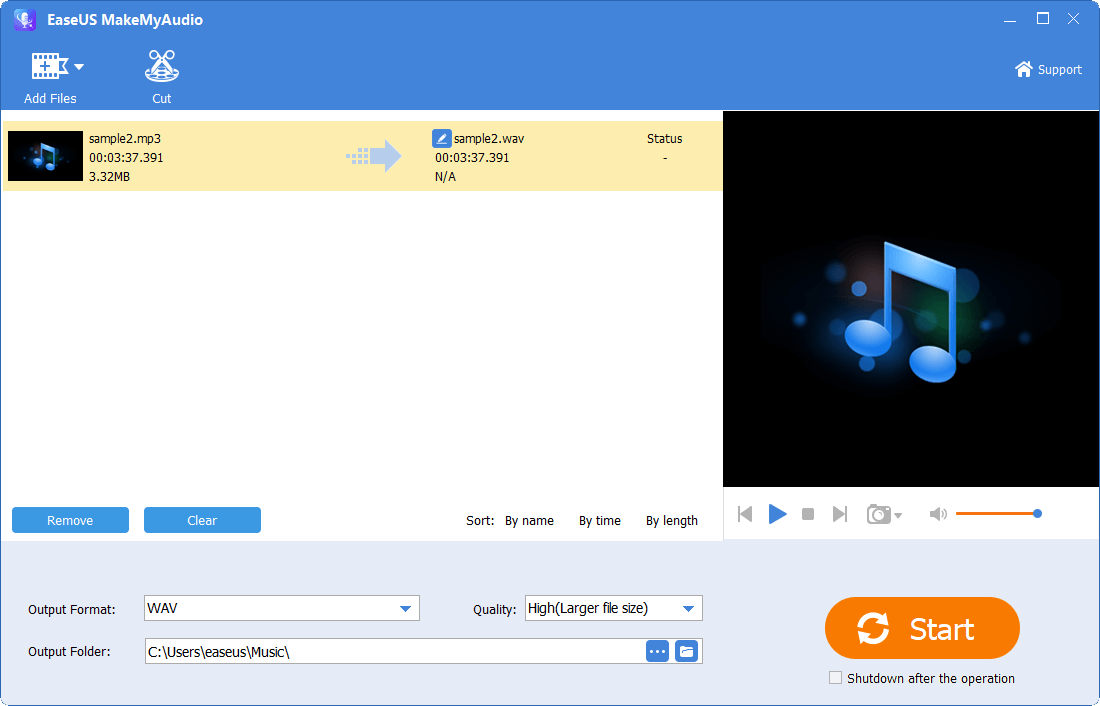
Step 2. Add the audio file you want to cut
Then click "Add Files" and find the location where the audio is saved, select the audio file and click "Open" to add the audio file. You can load multiple audio files at one time.
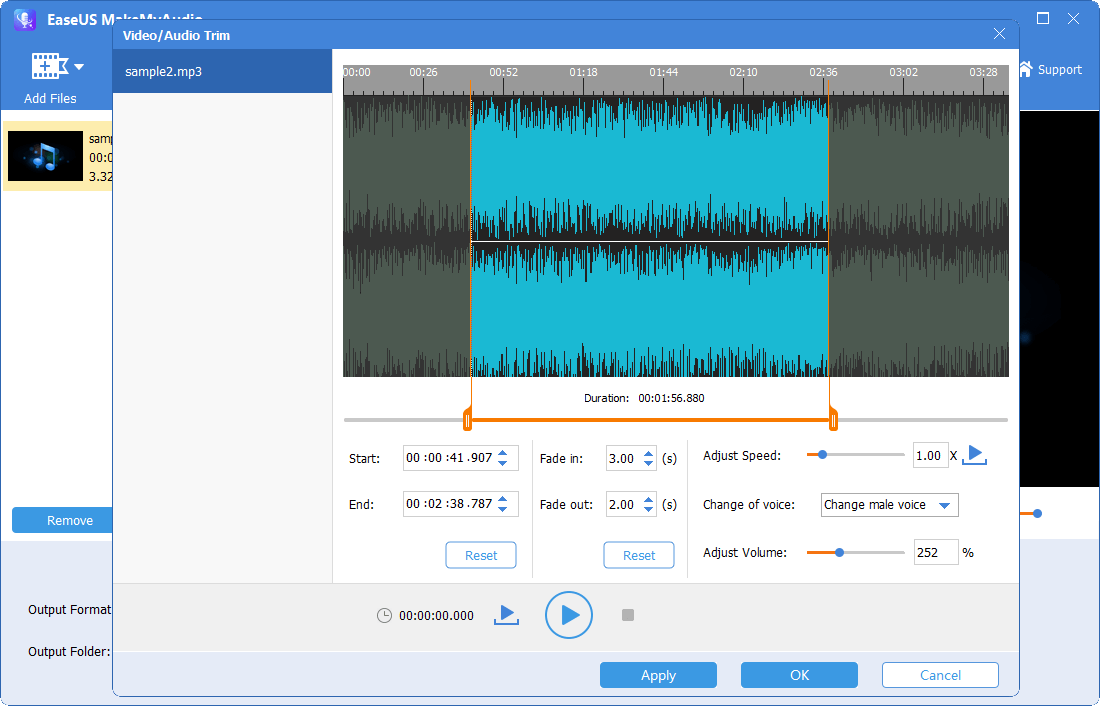
Step 3. Trim the audio file
Cut the audio file. Click "Cut" to open the waveform editor window. Move the sliders to select the part you want to keep. Click "Apply" and "OK" to save the editing and return to the last window.
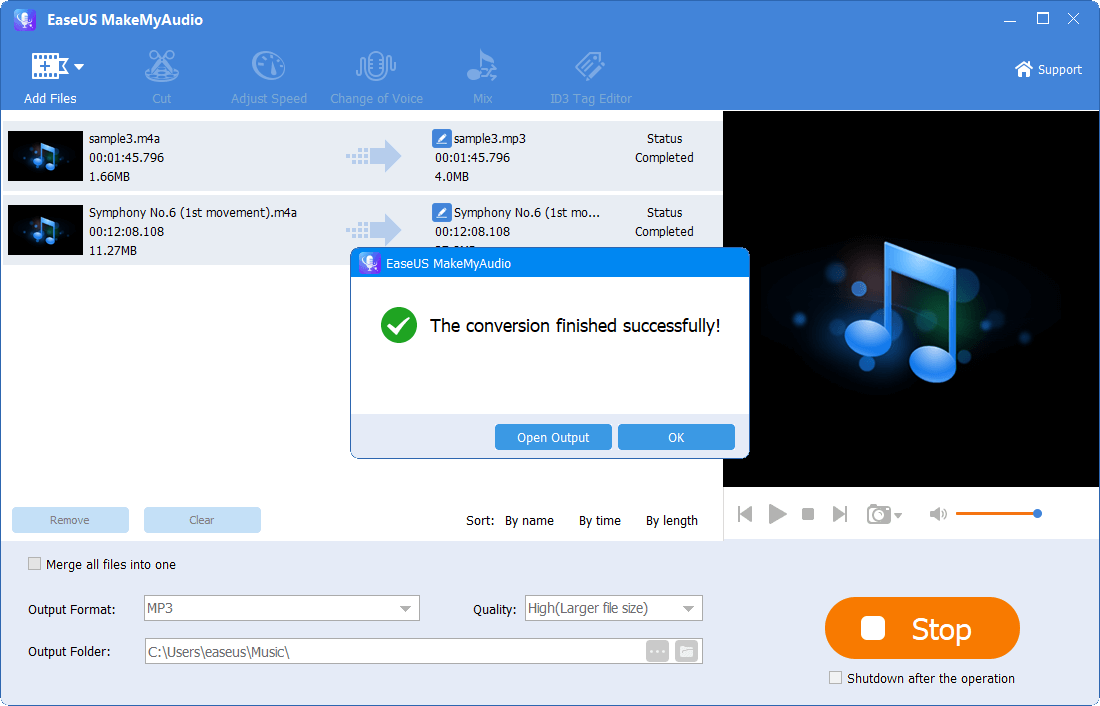
Step 4. Export the trimmed audio file
You can find the time period you selected for the audio. Confirm it and click "Start" to export the trimmed file to your PC. You can click "OK" for further editing or click "Open Output" to check the exported audio file on your PC.
Part 2. How to Edit Sound Files in Windows Media Player
If you just want to do some simple editing jobs on a PC, the Windows Media Player is enough. As its name implies, it is a media player and media library application that is used for playing audio, video and viewing images. In addition to being a media player, it also includes the ability to edit audio files.
But before embracing its editing feature, you'll need to install a plug-in on your computer in advance. There are many different plug-ins in the market for you to choose from. And some popular options include Sleep timer, Lyric plug-In, PixelFusion, Now Playing, DFX Audio Enhancer, and SolveigMM WM. Of these options, we recommend SolveigMM WM most because it is by far the most widely used Windows Media Player plug-ins in the market.
To edit sound files in Windows Media Player:
Step 1. Open Windows Media Player on your computer.
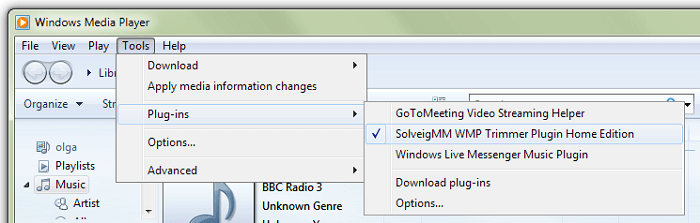
Step 2. Choose "Tools" > "Plug-ins" > " SolveigMM WMP Trimmer Plugin Home Edition."
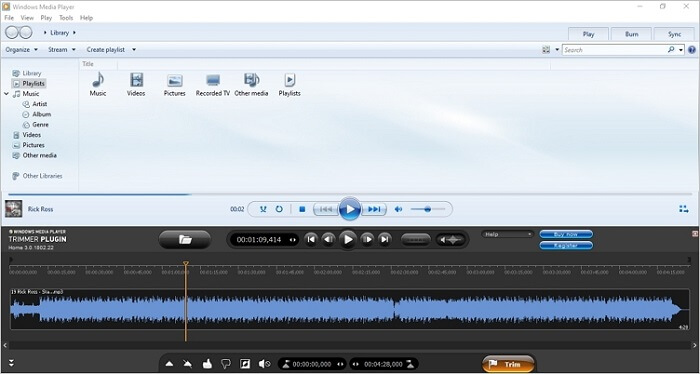
Step 3. Open the MP3 file you want to trim in Windows Media Player and click "Edit files."
Step 4. Move the slider to the position you wish to start trimming and click on the "Add maker" button. Repeat the process to select the end position.
Step 5. Once the clips are chosen, click on the selected part and click on the "Trim."
Step 6. Then, you can follow the prompts to give your trimmed file a name and choose a position to house it.
If you just want to do some basic editing jobs, the Windows Media Player is good. While if you want to handle some complicated editing tasks, you may need some professional audio editing software that is equipped with some advanced features to help.
Part 3. How to Edit Audio in Garageband on iPhone
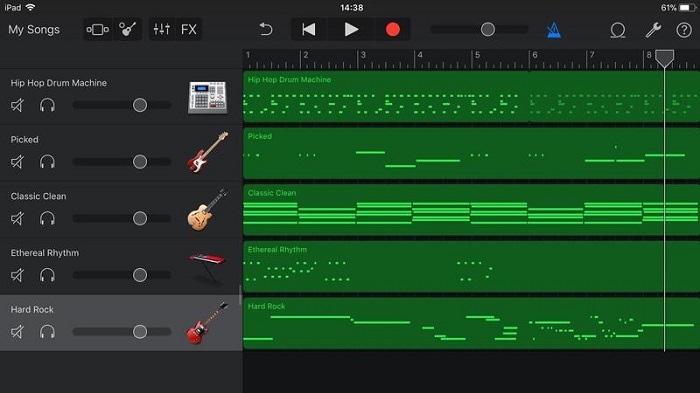
Another option to edit audio files is to use Garageband, a full-featured digital audio workstation for iOS devices that allows you to make a song a ringtone or edit audio clips for other purposes. It has tons of excellent features, such as trimming a clip, splitting a clip, putting a track on loop, merging tracks, exporting your projects, etc. Anyway, it covers almost all the basic tools you may need for audio editing. If you want to know how does this free music edition tool work to edit audio files, you can check GarageBand User Guide for iPhone to know it.
Part 4. How to Edit an Audio File on Mac
If you're a Mac user, you can use QuickTime Player to edit MP3 files. It works similarly to Windows Media Player, but it doesn't require you to install any plugins. If you prefer this way, here are the steps.
Step 1. Launch the QuickTime Player on your Mac.
Step 2. Right-click on your audio file > "Open with" > "QuickTime Player."
Step 3. From the menu bar of the QuickTime Player, select "Edit."
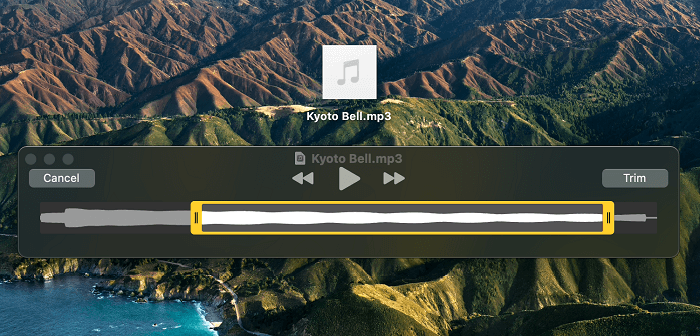
Step 4. Move the yellow sliders to adjust the length of your MP3 file.
Step 5. Then, you can click on the "Play" button to pre-listen to the trimmed sound before saving.
Step 6. If you're done, you can click on the "Trim" to save the edited version.
The Bottom Line
With these tips and tricks, you may have edited audio files successfully. Different ways introduced in this guide have different features when it comes to editing audio files. And they are suitable for different operating systems. Based on your needs, you can apply any of them to edit audio files.