


- Video Tools
- Video Downloader
- Video Editor
- Video Converter
- VideoKit
- RecExperts
6 Methods to Cut Audio Files with Ease
Jane Zhou updated on May 24, 2024 to Audio Editing Tips
Whether you're a content creator, an interviewer, a studio musician, or a podcaster, you will need to cut or edit MP3 files. To produce great audio and music, some useful tips and tricks like those introduced in this guide are needed. With these helpful tips, you can easily deliver your production like a professional.
Now, let's walk you through the steps to cut audios on a PC or a Mac.
Part 1. How to Cut Audio Files on a PC in Windows 10
On a Windows computer, you can either use Windows Media Player or a third-party cutting tool to perform a cutting task. Either of the two options has its advantages and disadvantages. After weighing its pros and cons, you can choose the way you prefer to use it.
How to Cut Music with an Audio Cutter
If you want an effective way to cut music, you shouldn't miss this simple desktop audio editor - EaseUS MakeMyAudio. As the name implies, EaseUS MakeMyAudio is an audio editing toolkit that can meet almost all MP3/WAV/WMA cuttings needs. Whether to create ringtones for your mobile phone or make mash-ups, you can use EaseUS MakeMyAudio to do it smoothly.
Besides being an audio cutter, it also works as a recorder, converter, joiner, CD ripper, CD burner, and ID3 tag editor. If you want to deliver your production like a professional, EaseUS MakeMyAudio is a good option.
To cut music with EaseUS MakeMyAudio:
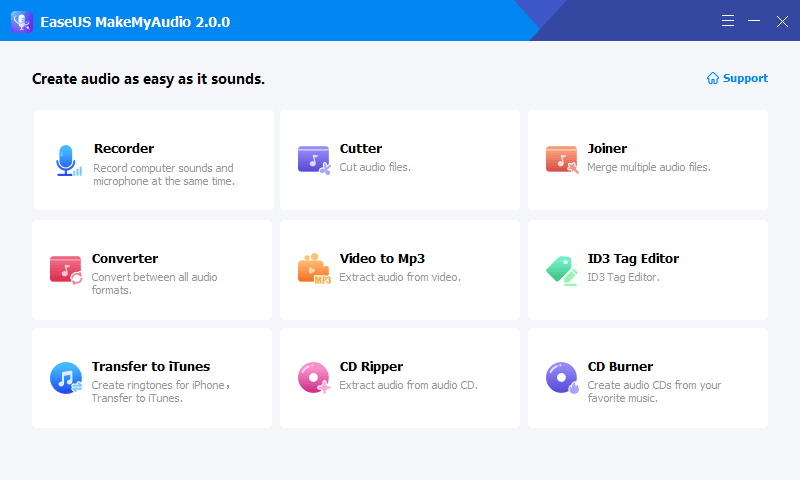
Step 1. Launch EaseUS MakeMyAudio on PC
Launch EaseUS MakeMyAudio on PC and click the "Cutter" module on the interface.
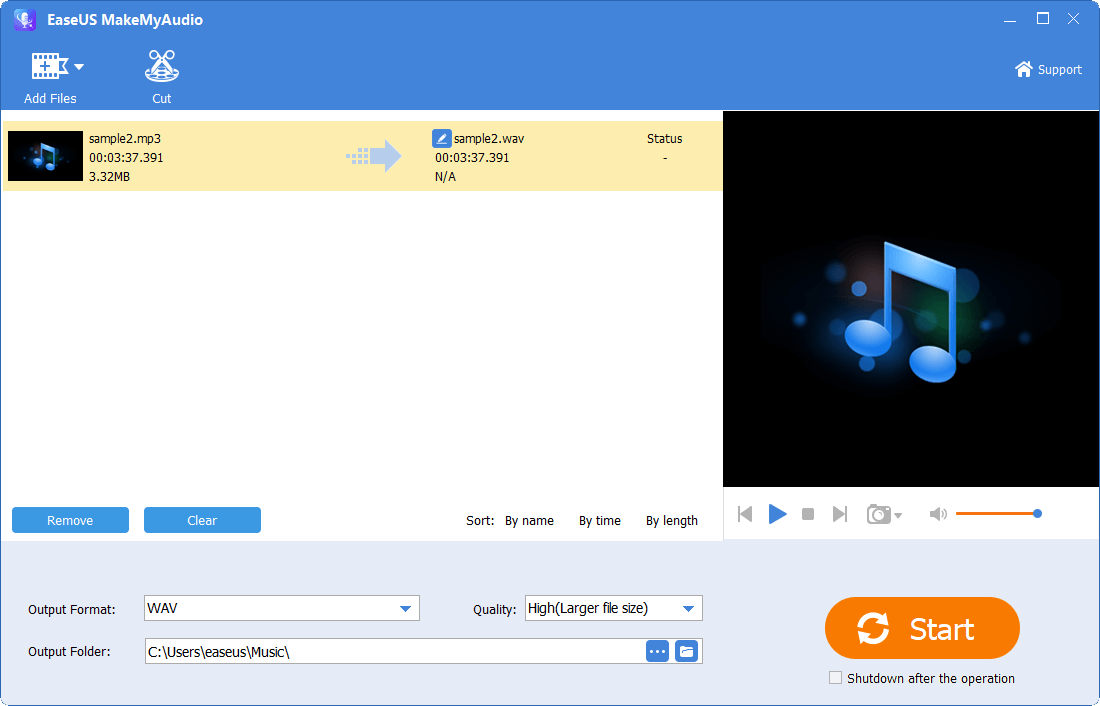
Step 2. Add the audio file you want to cut
Click the "Add Files" button to add an audio file from the computer to MakeMyAudio. You can also add multiple audio files at one time. Click "Cut" to open the waveform editor window.
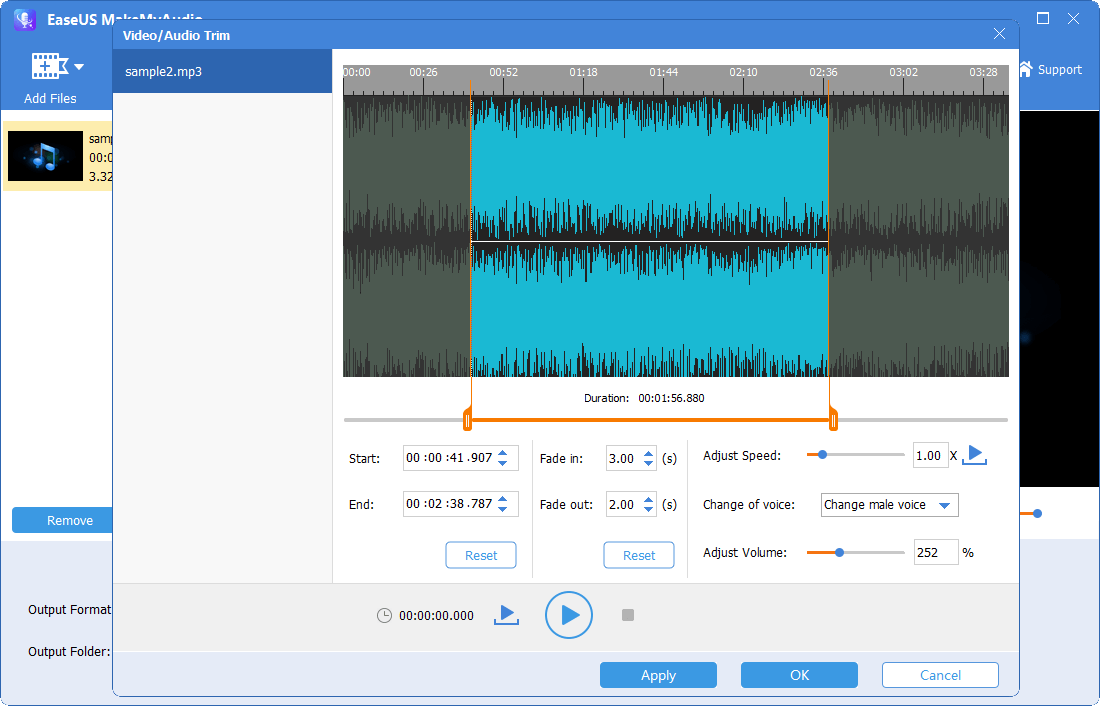
Step 3. Trim the audio file
Keep the desired portion of the audio by adjusting the start and end points. You can click the "Play" icon to preview the trimmed audio file. Adjust the selected timeline until you are satisfied.
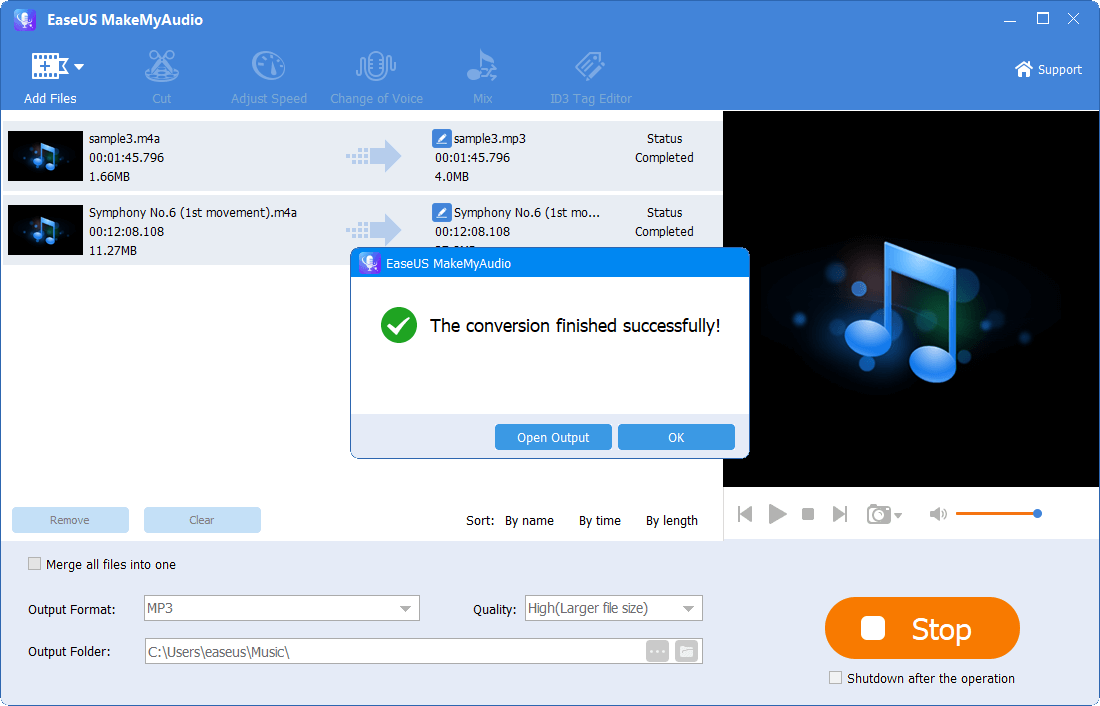
Step 4. Export the trimmed audio file to your PC
After you select the part you want, click "Apply" and "OK" to export the trimmed audio file to your computer. Then you can use the audio file or merge it with another audio file.
How to Cut a Song with Windows Media Player
Windows Media Player is the default media player for Windows users to play videos and audio. In addition to playing media files, it also can be used to trim or cut audio if it gets integrated with a plug-in. Such plug-ins can be found on the internet, and so far, the most frequently used one is SolveigMM WMP Trimmer Plugin. Below we will introduce how to combine this plug-in with Windows Media Player and cut audio.
Step 1. On your Windows 10, open Windows Media Player.
Step 2. On its screen, check "Tools," and then check "Plug-ins." If you've installed this plug-in before, you can directly choose "SolveigMM WMP Trimmer Plugin." If not, you should choose "Download plug-ins" and then download a plugin first and enable it by repeating the above steps.
Step 3. Right-click the audio file you wish to edit, choose "Open with," and then select "Windows Media Player."
Step 4. In Windows Media Player, click "Edit File" to view the expanded view of the plugin.
Step 5. Drag the slider to the position you wish to start and hit "Add marker." Repeat the process to choose the end position.
Step 6. Once you've finished trimming, click on the "File" button, and then choose "Save as..." to save your audio.

Part 2. How to Cut MP3 Files on a Mac
Likewise, you also have two options to cut an audio file on a Mac. One is to use some native apps like QuickTime and Garageband and another option is to use some third-party editing tools like Audacity. Which kind of tool to use depends on how often you need to cut audio files. If you need to cut MP3 often, a convenient and effective option is to install an audio editor on your Mac. While if you just need to cut audio once, it's best to use QuickTime. Whichever way you choose, here are the details.
How to Cut Audio Files with QuickTime
QuickTime Player is a native media player for Mac computers. It has a basic toolkit for you to edit audio. If you want to know how it works, below are the steps.
Step 1. Right-click on your MP3 files and click "Open with," then select "QuickTime Player."
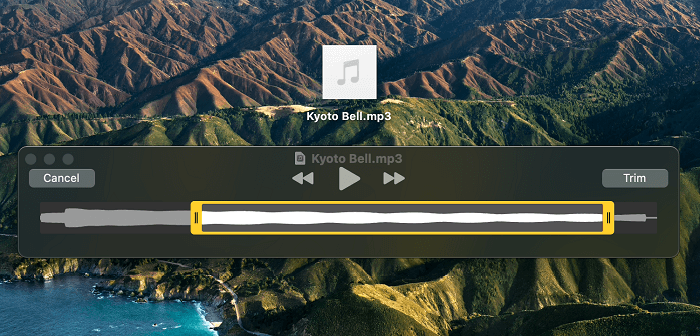
Step 2. From the main screen of QuickTime, select "Edit" and then select "Trim."
Step 3. Move the yellow slider to shorten the length of your audio files.
Step 4. Once you've completed, click on the "Play" button to listen to the trimmed music before saving.
Step 5. If you've done, click on the "Trim" button to save your changes.
Step 6. Save the trimmed MP3 file to any location on your Mac.
How to Cut Music With Audacity
Audacity is a free and open-source audio editor that can help you edit and record audio on different platforms like Windows, Mac, and Linux. It is a good option for inexperienced users and those who want to perform some simple cutting tasks for free. If you want to know how to use Audacity to cut a song, below are the steps.
Step 1. Download and open Audacity on your Mac.
Step 2. From the upper left corner of Audacity, click "File" and then choose "Open" to choose the audio file you wish to cut.
Step 3. Find the Selection Tool from the top toolbar. Then, place your cursor to where you want it to be and press CMD + I. After that, a dark line will appear to show you where you split your audio file. You can move each clip around the timeline and edit it by grabbing the Time Shift tool.
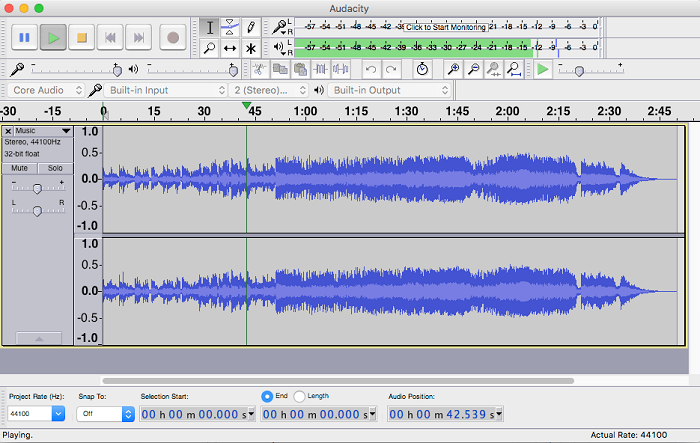
Step 4. To cut a port of your audio, you need to highlight the section and press CMD + K to remove the highlighted section.
Step 5. Once you're done, you can click on the "File" button, and then choose "Save Project" to save your changes.
How to Cut Sound Files in Garageband
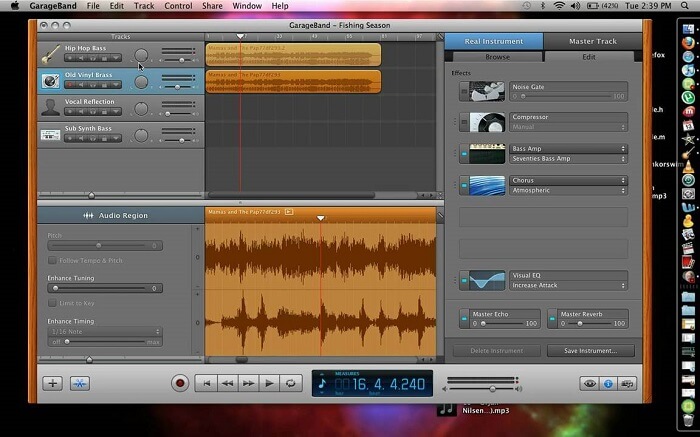
Garageband is a native digital audio workstation for iOS devices. It lets you perform almost all operations with audio files, such as recording sound, cutting and trimming sound, and sharing your audio projects. One of the best parts of this app is that it offers some simple piano and guitar lessons.
But note that Garageband only works with macOS Catalina and newer. And it only supports the song you create yourself or purchase from the iTunes Store. If you don't mind that, follow these simple steps to trim audio with Garageband.
Step 1. Launch Garageband on your Mac and open your audio project by dragging it to the trimmer.
Step 2. Tap the "Play" icon to find the part of the song you wish to cut. Once you've found that, place the playhead on the place you wish to start and press CMD + T to split it. Repeat the steps to set an end position.
Step 3. Click on the parts you don't want and press the Delete key on your Mac to delete them.
Step 4. Then, you can tap "Share" and then choose "Export Song to Disk" to save your edited audio.
Part 3. How to Cut Audio Files Online [Mac & PC]
If you want to cut an audio file once and don't want to install any program on your computer, you can consider using some online audio editors like Clideo. Unlike Garageband and other desktop apps, Clideo is very easy to use. If you prefer this way, you can open it and follow these steps to cut audio files online.
Step 1. Open Clideo: https://clideo.com/cut-audio
Step 2. Add audio from your computer, be it a PC or Mac. You can directly drag and drop your file to the website page or select an audio file from Dropbox or Google Drive.
Step 3. Drag the yellow box to choose a part of your track and choose "Extract Selected" or "Delete Selected" to extract or delete the selected track.
Step 4. Then, you can choose "Fade In" or "Fade Out."
Step 5. When your file is processed, click "Export" to save it on your computer.
In Conclusion
Whether you're using a PC or Mac, you can find your way to cut audio files from this guide. For Windows users, they can either use Windows Media Player or third-party editing software to cut songs. But Windows Media Player requires you to install an extra plugin, which might make it a bit complex to cut the music. Given that reason, we recommend using EaseUS MakeMyAudio to get the job done. While for Mac users, you can choose any one of those options.