


- Video Tools
- Video Downloader
- Video Editor
- Video Converter
- VideoKit
- RecExperts
How to Burn Music to a CD on Windows and Mac
Melissa Lee updated on May 24, 2024 to Audio Editing Tips
Though CD is not as popular as before, some of you still enjoy the unique satisfaction from listening to CDs. With CD-burning software, you can make a CD of your favorite songs.
Today, we will explore how to put music on a CD for both Windows and Mac.
Part 1. How to Burn Music to a CD with EaseUS MakeMyAudio (Windows)
On Windows, you have many options to burn music to a CD. Many CD-burning applications do the job. EaseUS MakeMyAudio is an excellent choice for you. With it, it is a cinch to burn music to CD. You can create an audio CD through this application in three steps.
Besides helping you burn music to a CD, EaseUS MakeMyAudio also brings you other useful features.
- Record sound from computer and microphone
- Trim audio files to remove unwanted portions
- Combine two or multiple audio files into one track
- Convert audio from one format to another, including converting M4a to Mp3
- Extract audio from your local videos
- Convert CD to MP3
- Add ID3 tags to audio tracks
Below are steps to burn music to a CD using the audio editor EaseUS MakeMyAudio.
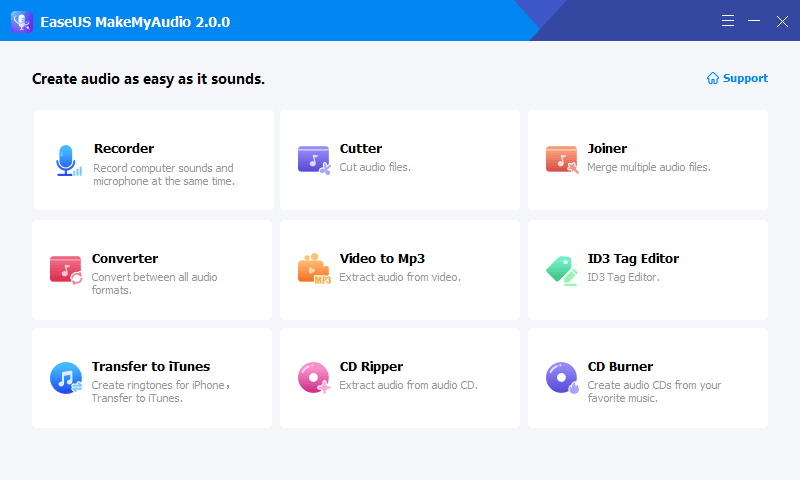
Step 1. Launch EaseUS MakeMyAudio on your PC and choose "CD Burner" from its main screen.
Step 2. From the top menu, click "Add Files" to import the audio files you wish to burn onto a CD.
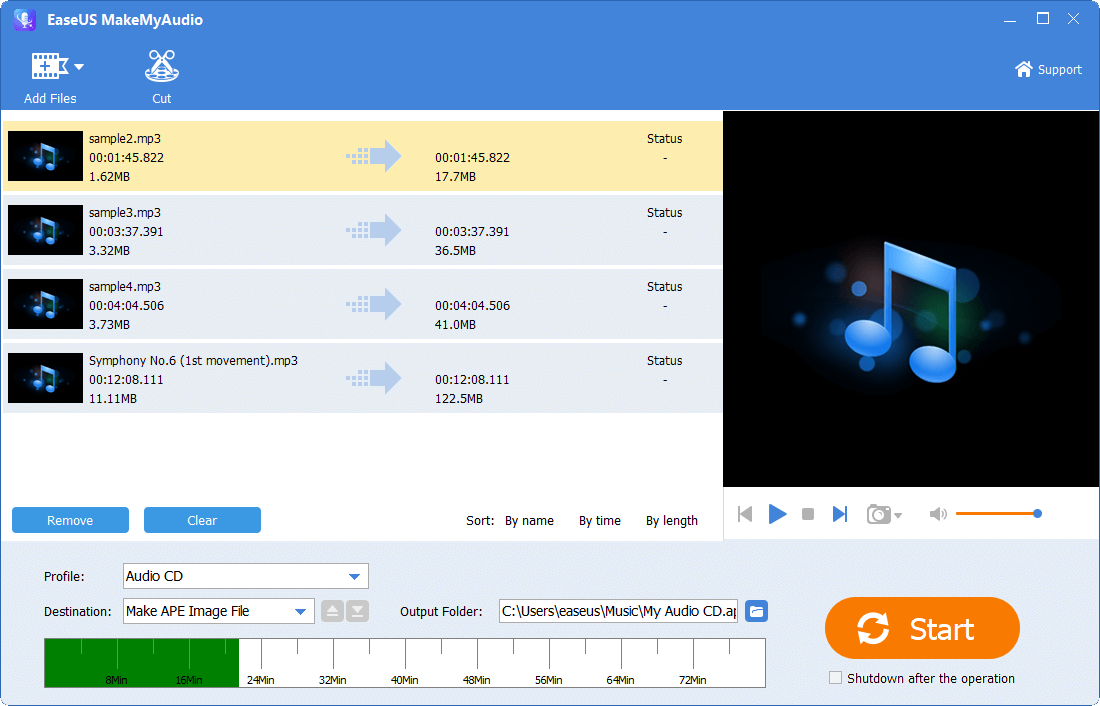
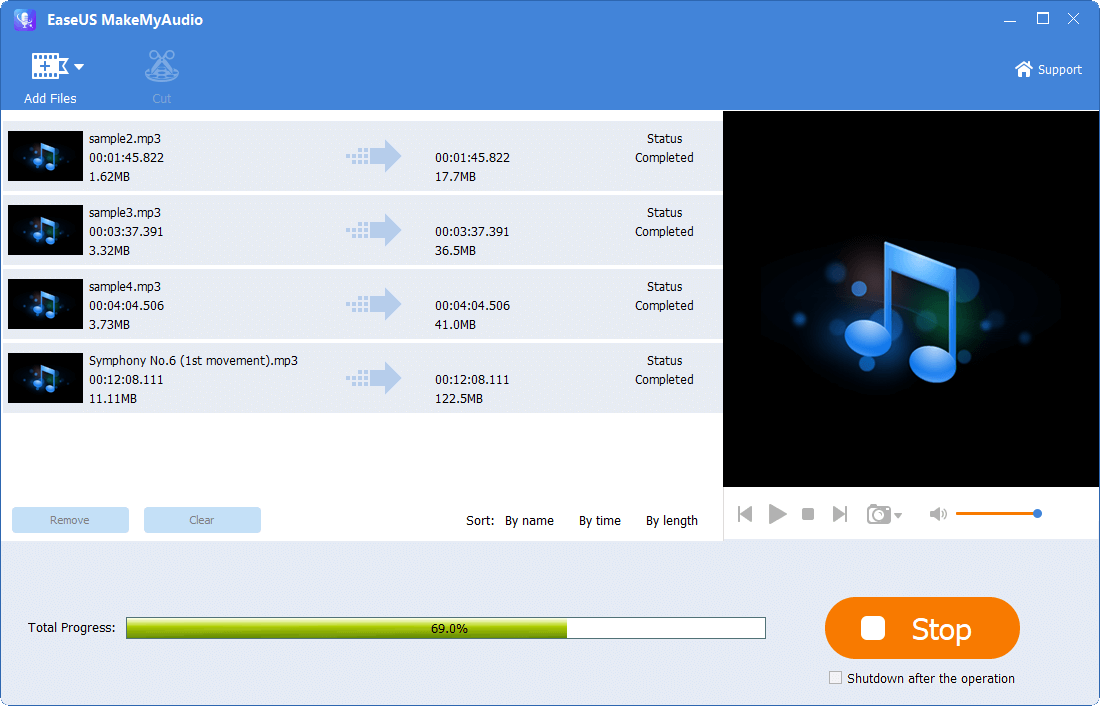
Step 3. Click "Start" to start the burning process and wait for the process to finish.
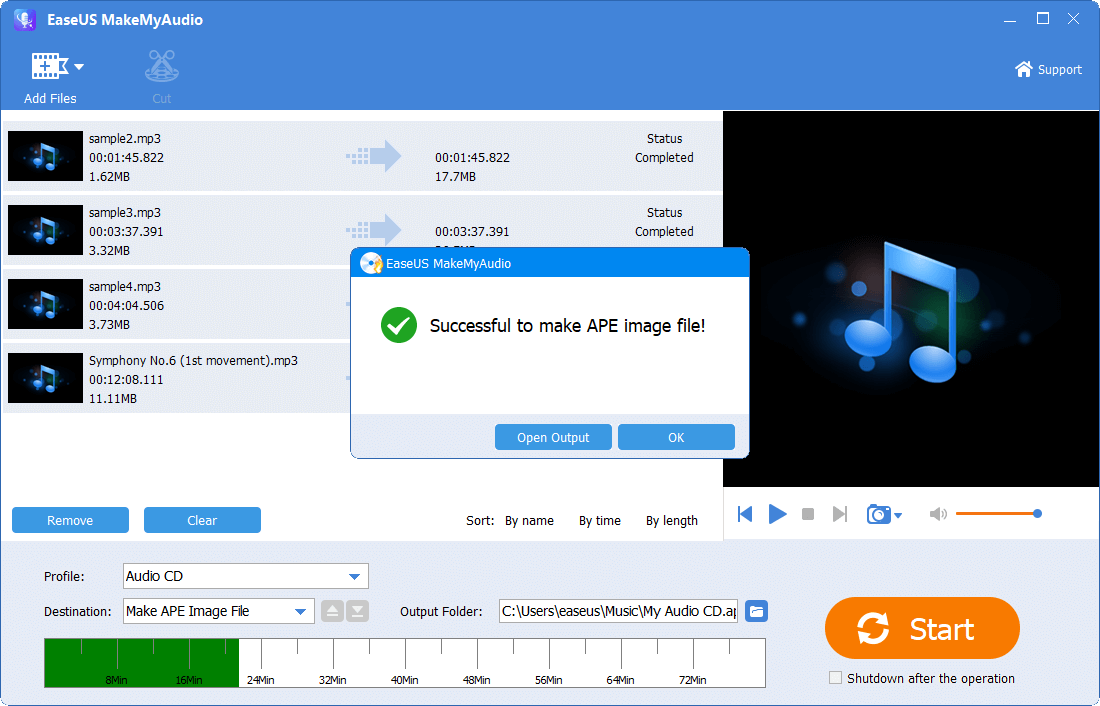
Step 4. Once it's completed, you see a prompt that says the process has finished.
Part 2. How to Put Music on a CD with Windows Media Player (Windows)
If you have Windows Media Player on your PC, you can make use of its CD burning feature to create an audio CD. Let's see the detailed steps.
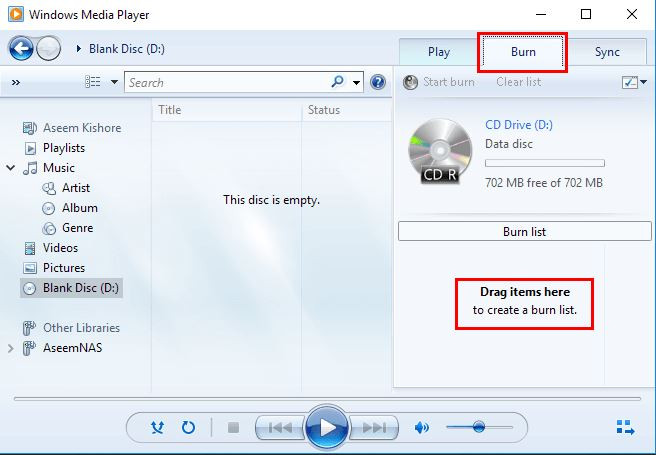
Step 1. Insert a CD into your PC. Click "Search" on your PC and enter "Windows" to find Windows Media Player. Click to launch it.
Step 2. Select songs you want to burn to the CD (Press the Shift key and click to choose songs), then right-click to choose "Add to" > "Burn list." Then you will find them in the right panel under the "Burn" tab.
Step 3. Check the list and then click "Start burn" to burn these audio files to the CD. It may take several minutes to finish burning.
Note: You can drag and drop to add more audio to the Burn list or remove songs by right-clicking on them to select "Remove from list."
Part 3. How to Burn Music to a CD without Any Tool (Mac)
To burn music stored on Mac to a CD, you can get this done without any app. Mac computers provide the CD burning feature by default. Let's see how simple it is to create a music CD.
Step 1. Right-click blank space on the desktop of your Mac, click "New Folder" to add a folder to the desktop.
Step 2. Move the songs you want to burn to this new folder.
Step 3. Insert a blank CD into your Mac, and click "OK" on the popup. The CD icon will appear on your desktop and will be named as "Untitled CD."
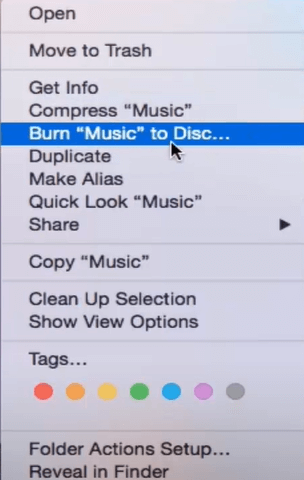
Step 4. Right-click on the folder and choose "Burn '[folder's name]' to disc," then name the CD and choose a burn speed, click "Burn" to start to burn the music to the CD.
Step 5. Wait for the burning process to complete. And the CD will be renamed as the folder's name. Now you can take the CD anywhere with you and listen to music with a CD player.
If you want to burn iTunes music to a CD, you can complete it using iTunes itself. We will talk about it in another blog.
The Final Words
With the proven methods to burn music to CD in this article, you can burn your favorite songs to a CD on both Windows/Mac and take the CD anywhere you want.